Pottery process

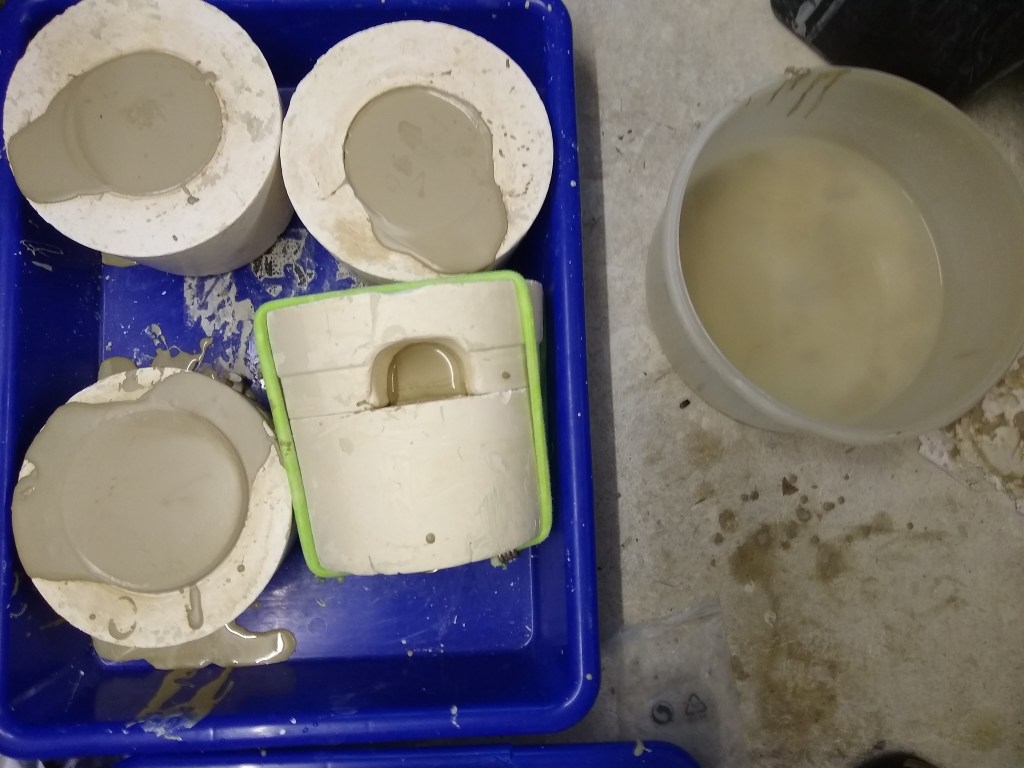
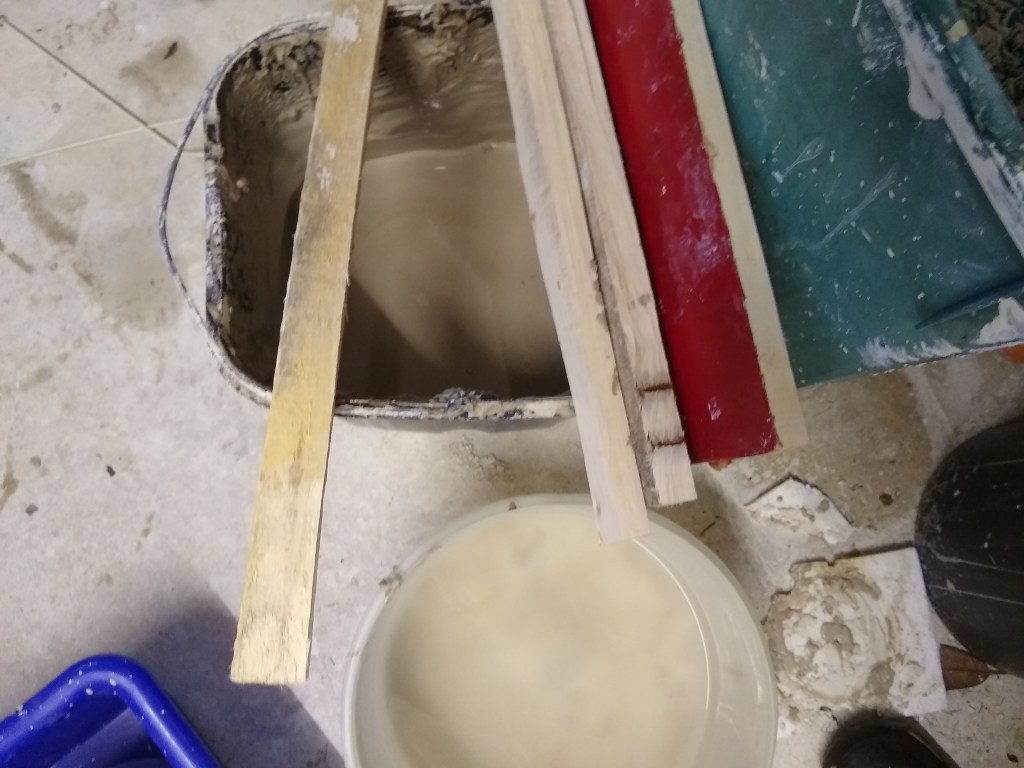
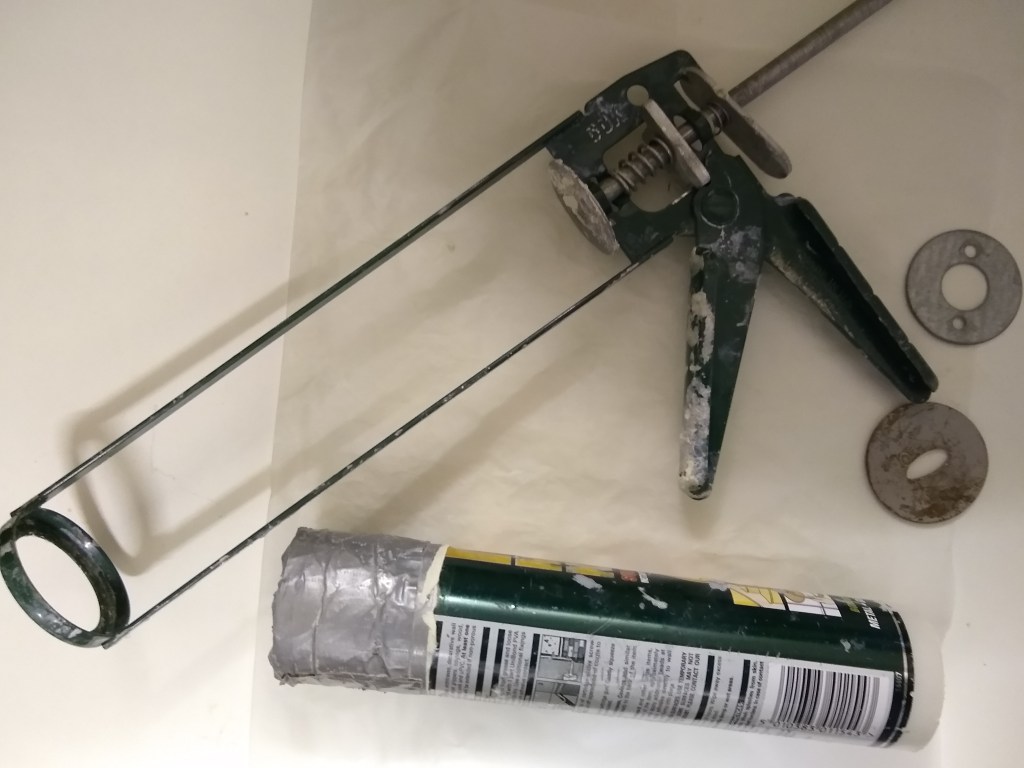
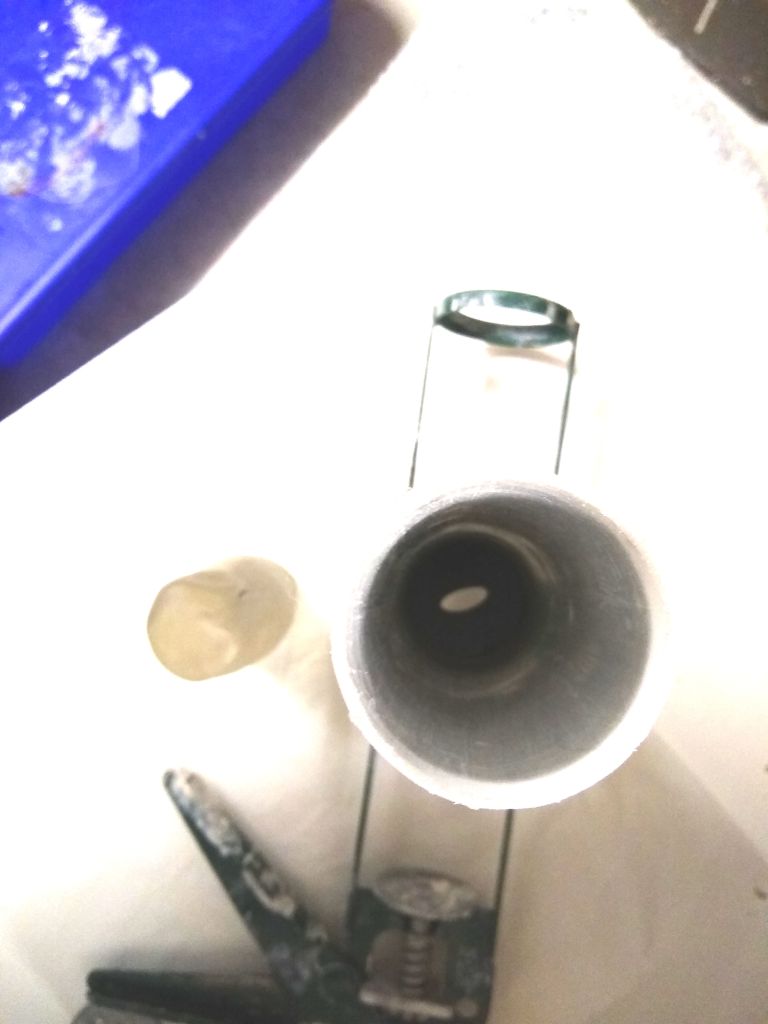
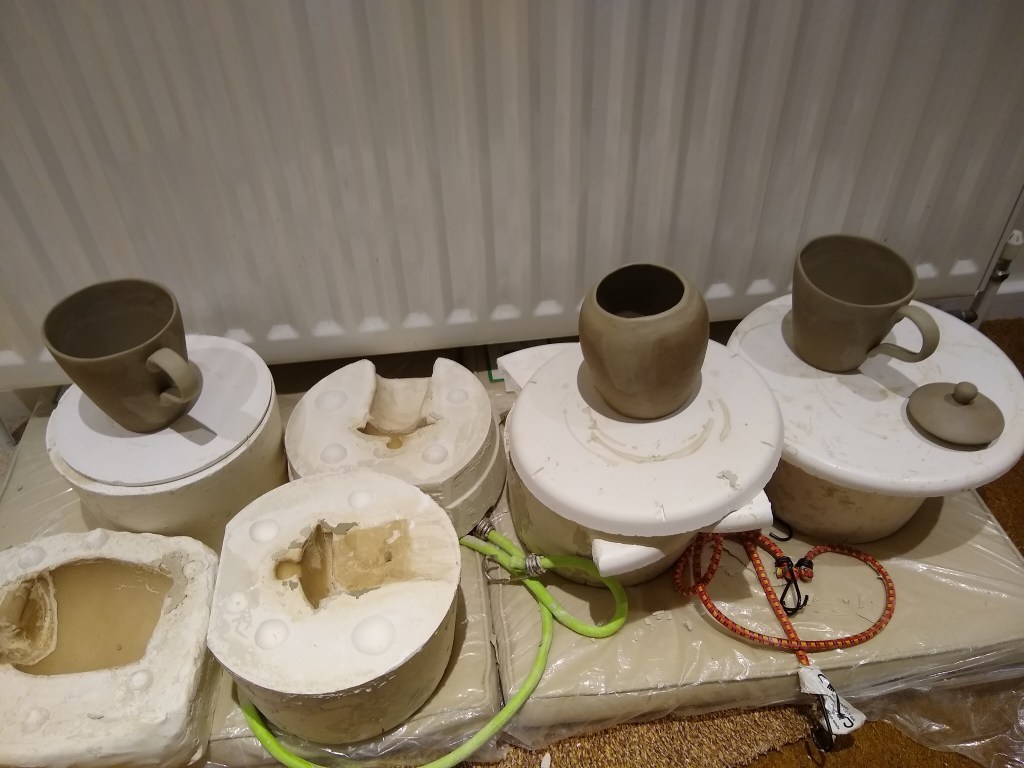
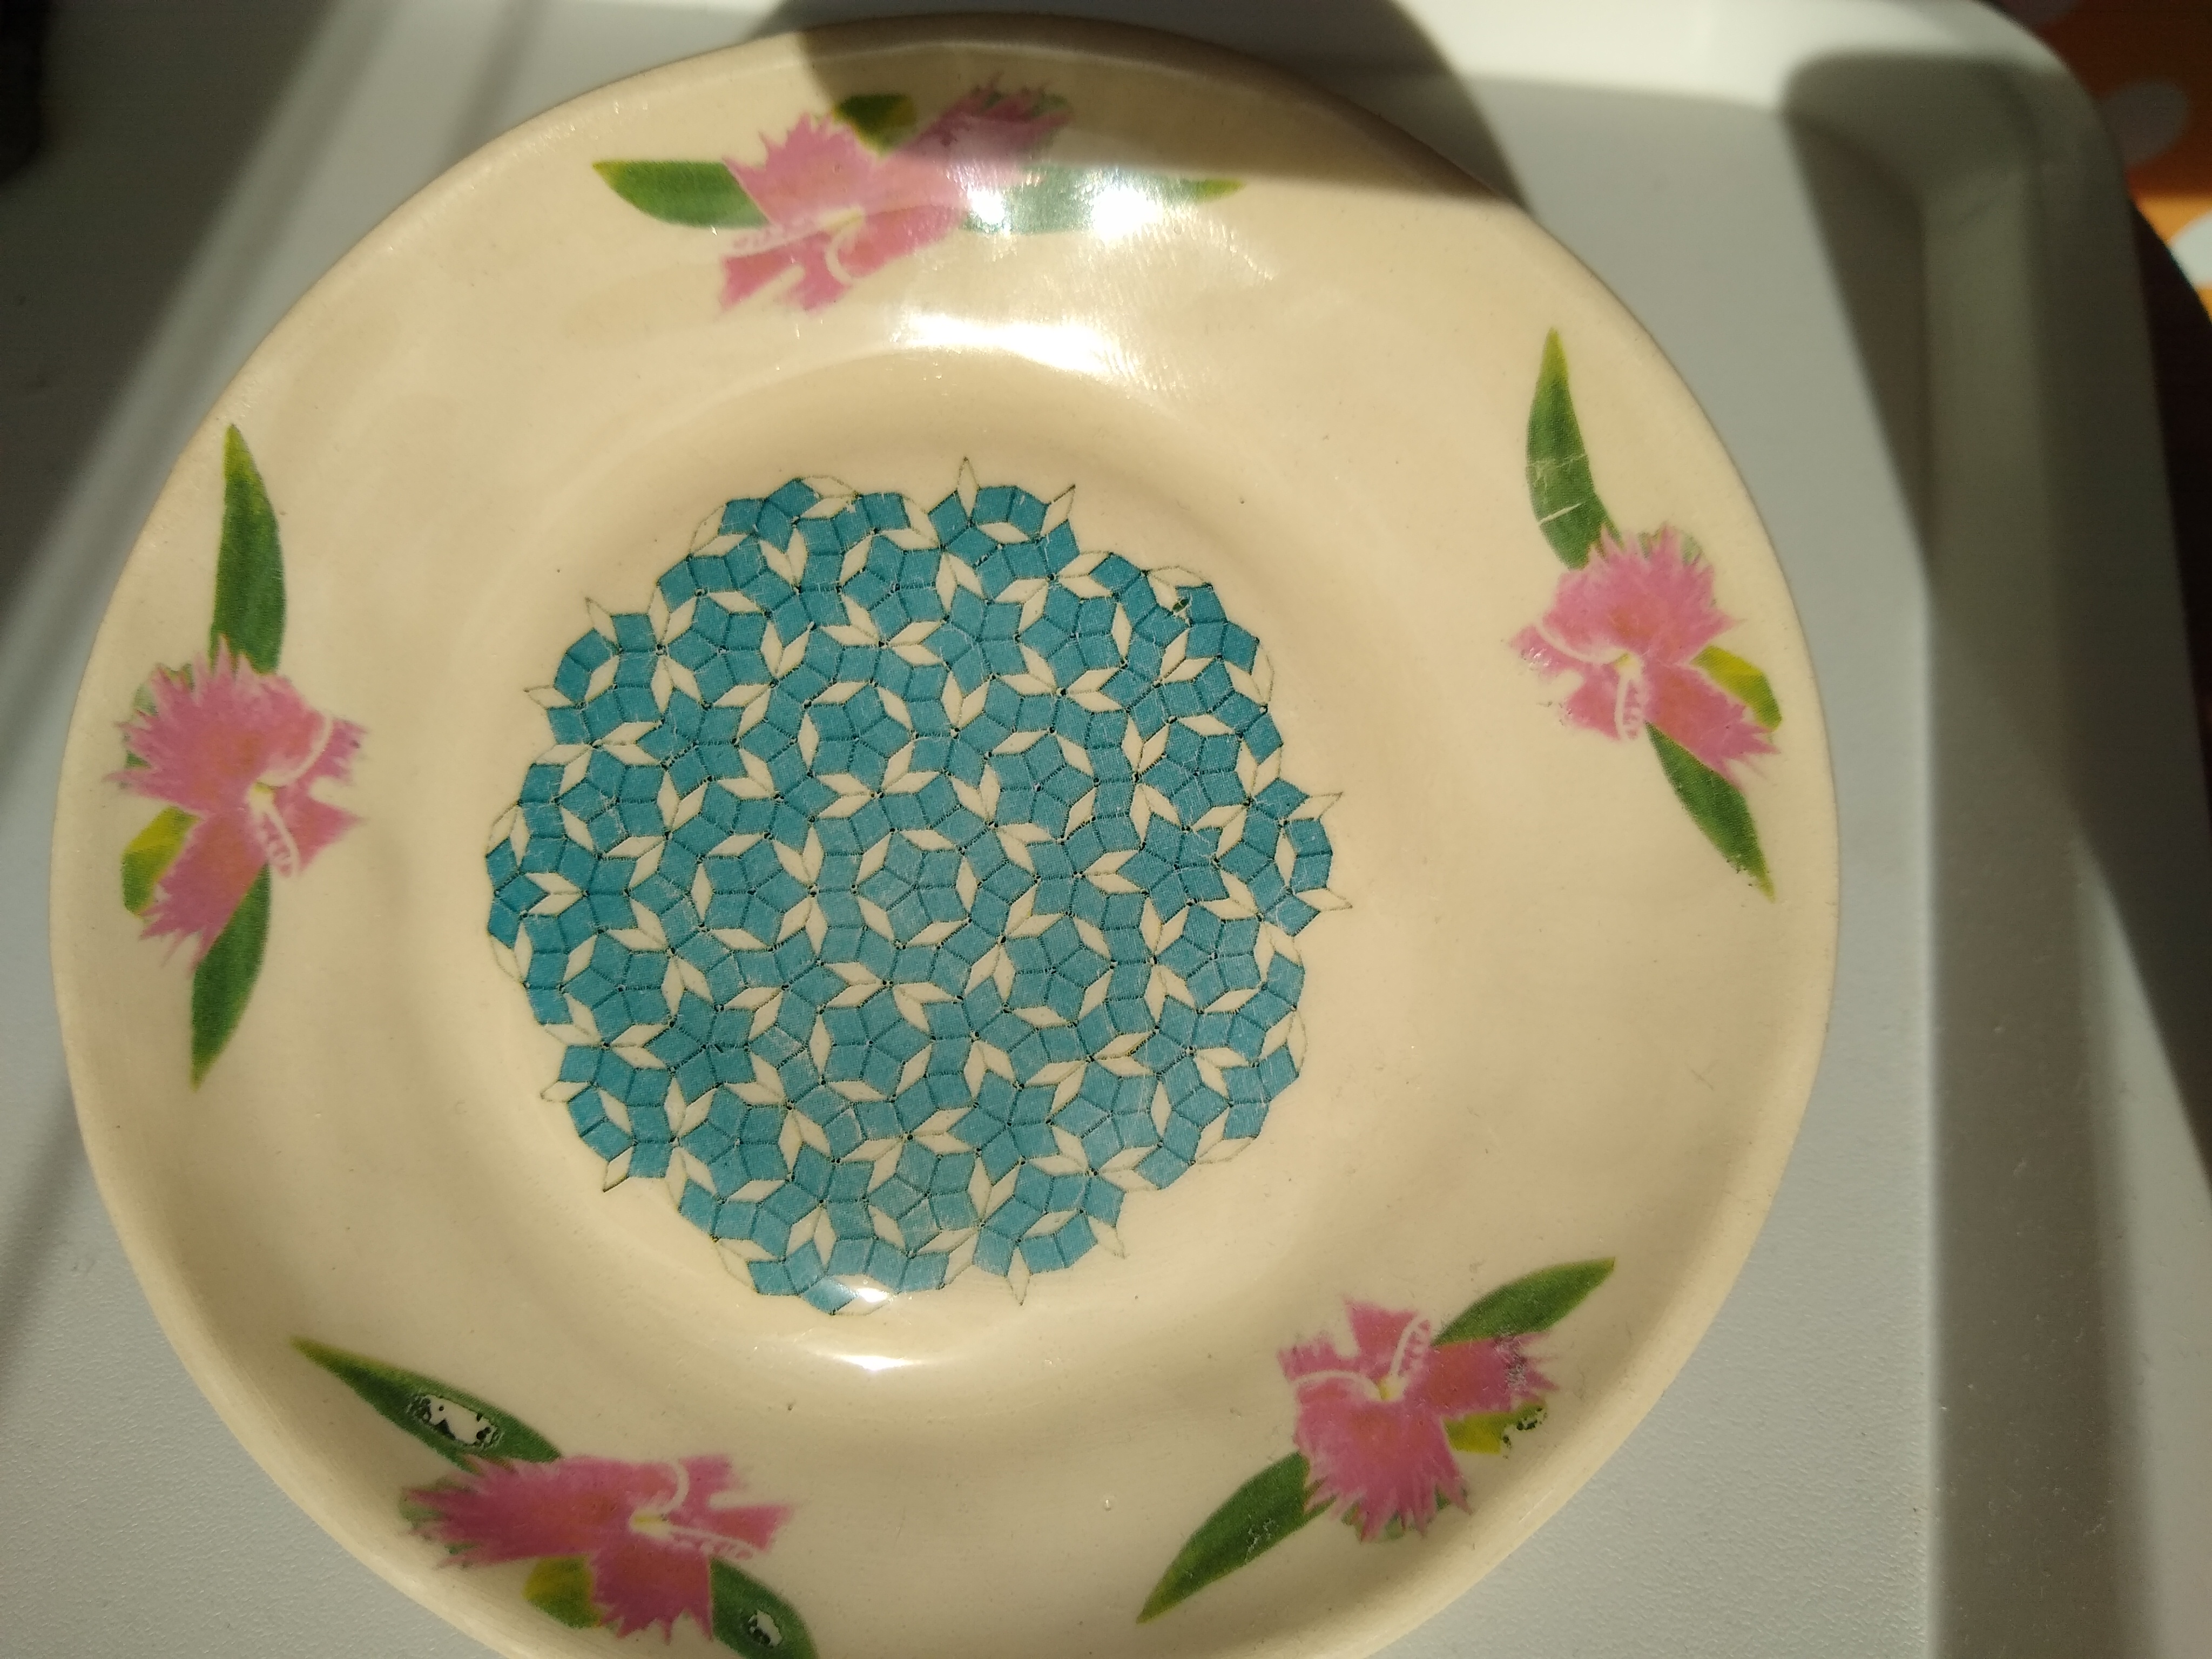
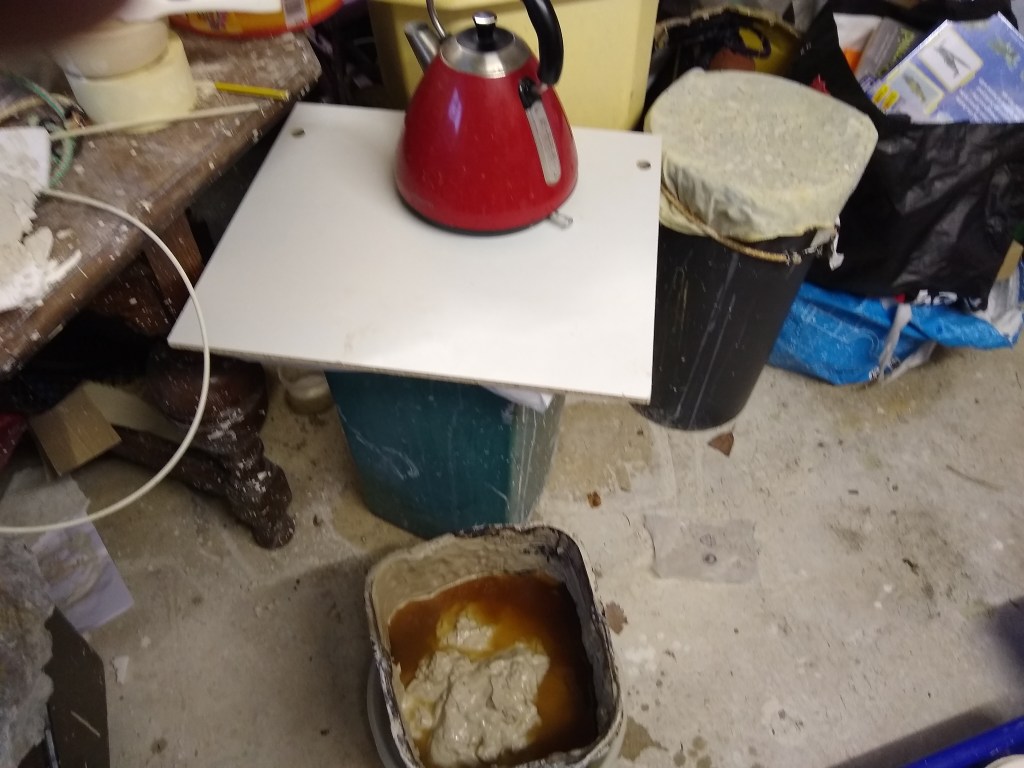
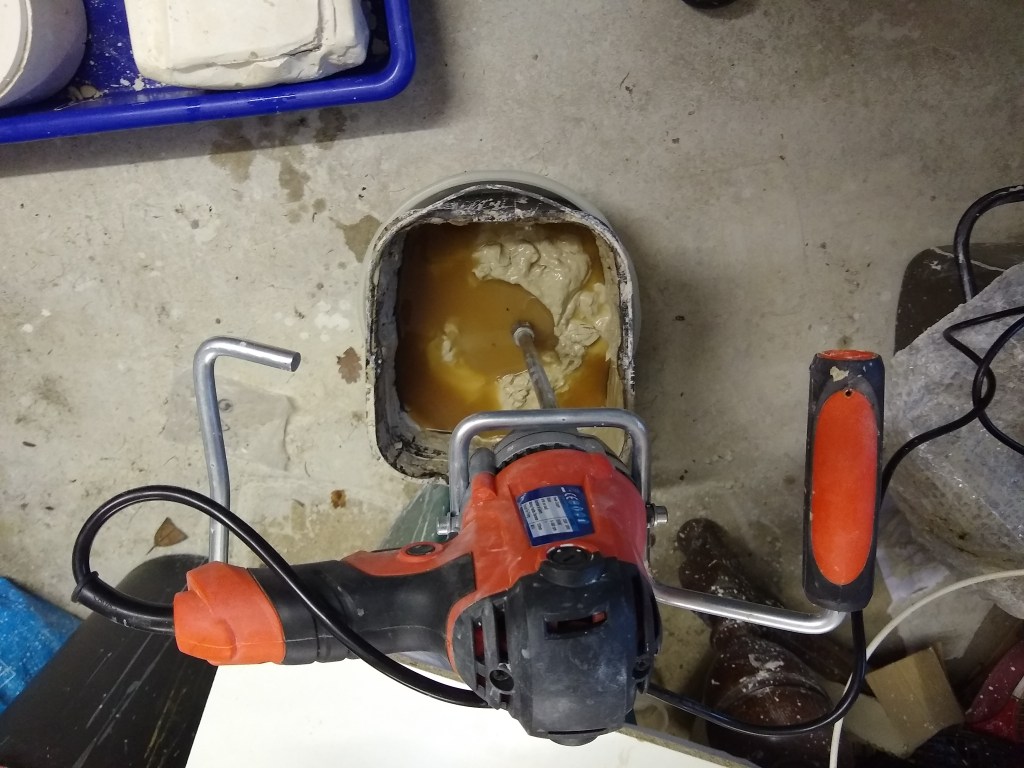
The following pictures were taken at various stages of pot manufacturing.

Home made teapot body moulds showing both halves
Home made teapot lid moulds showing both halves
Teapot moulds filled with casting slip
Draining the tea pot mould surplus clay slip after 40 minutes
Lid and teapot mould separated after 6 hours from pouring the casting slip
Teapot, mug and vase dried greenware ready for firing in the kiln.
Tea pot lids, saucers and mugs in the first shelf of the kiln
Teapots vases and mug in the top shelf of the kiln
Cast Teapot from above moulds glazed and with home made decals
Egg cups thrown in Stoneware Clay before firing
Wheel thrown stoneware egg saucer and integral egg cup
Saucer with home made decals

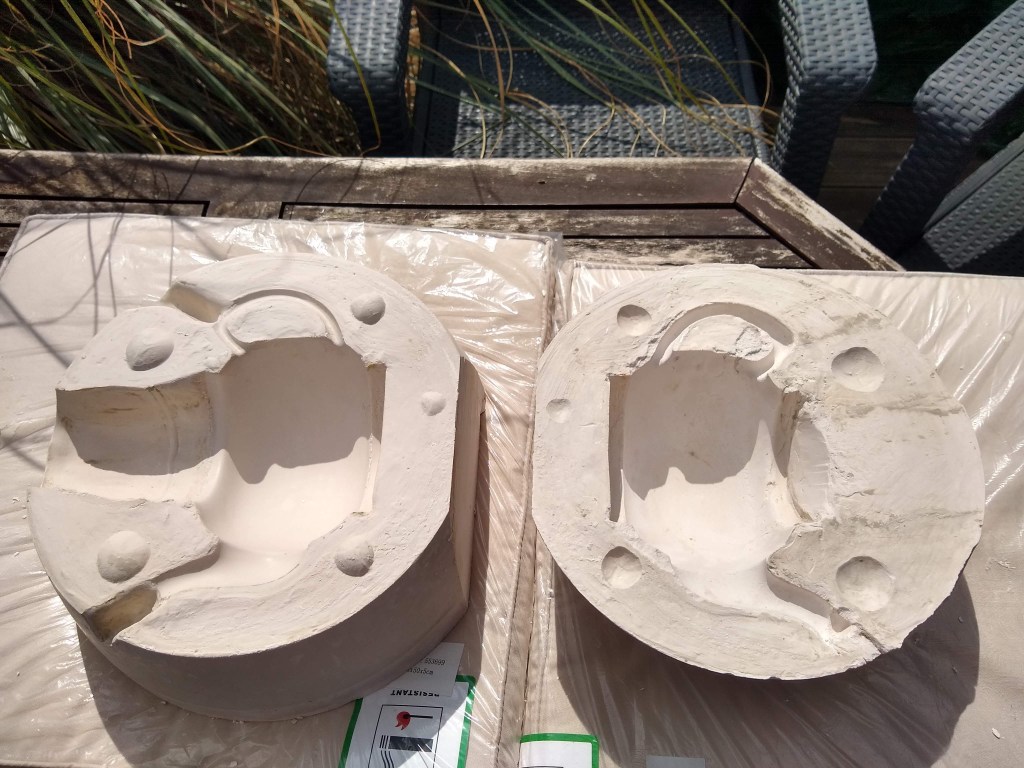
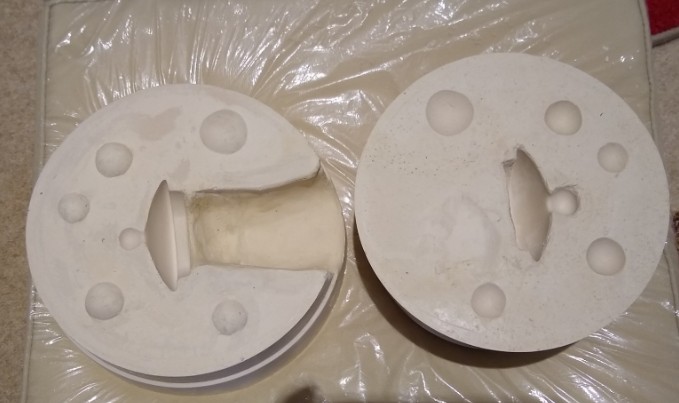
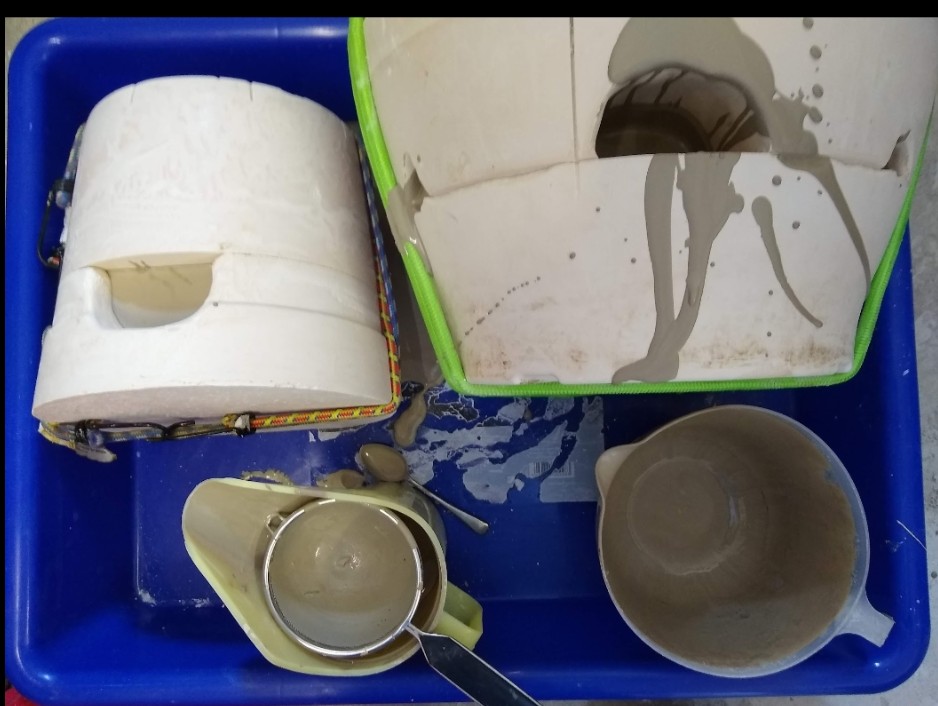
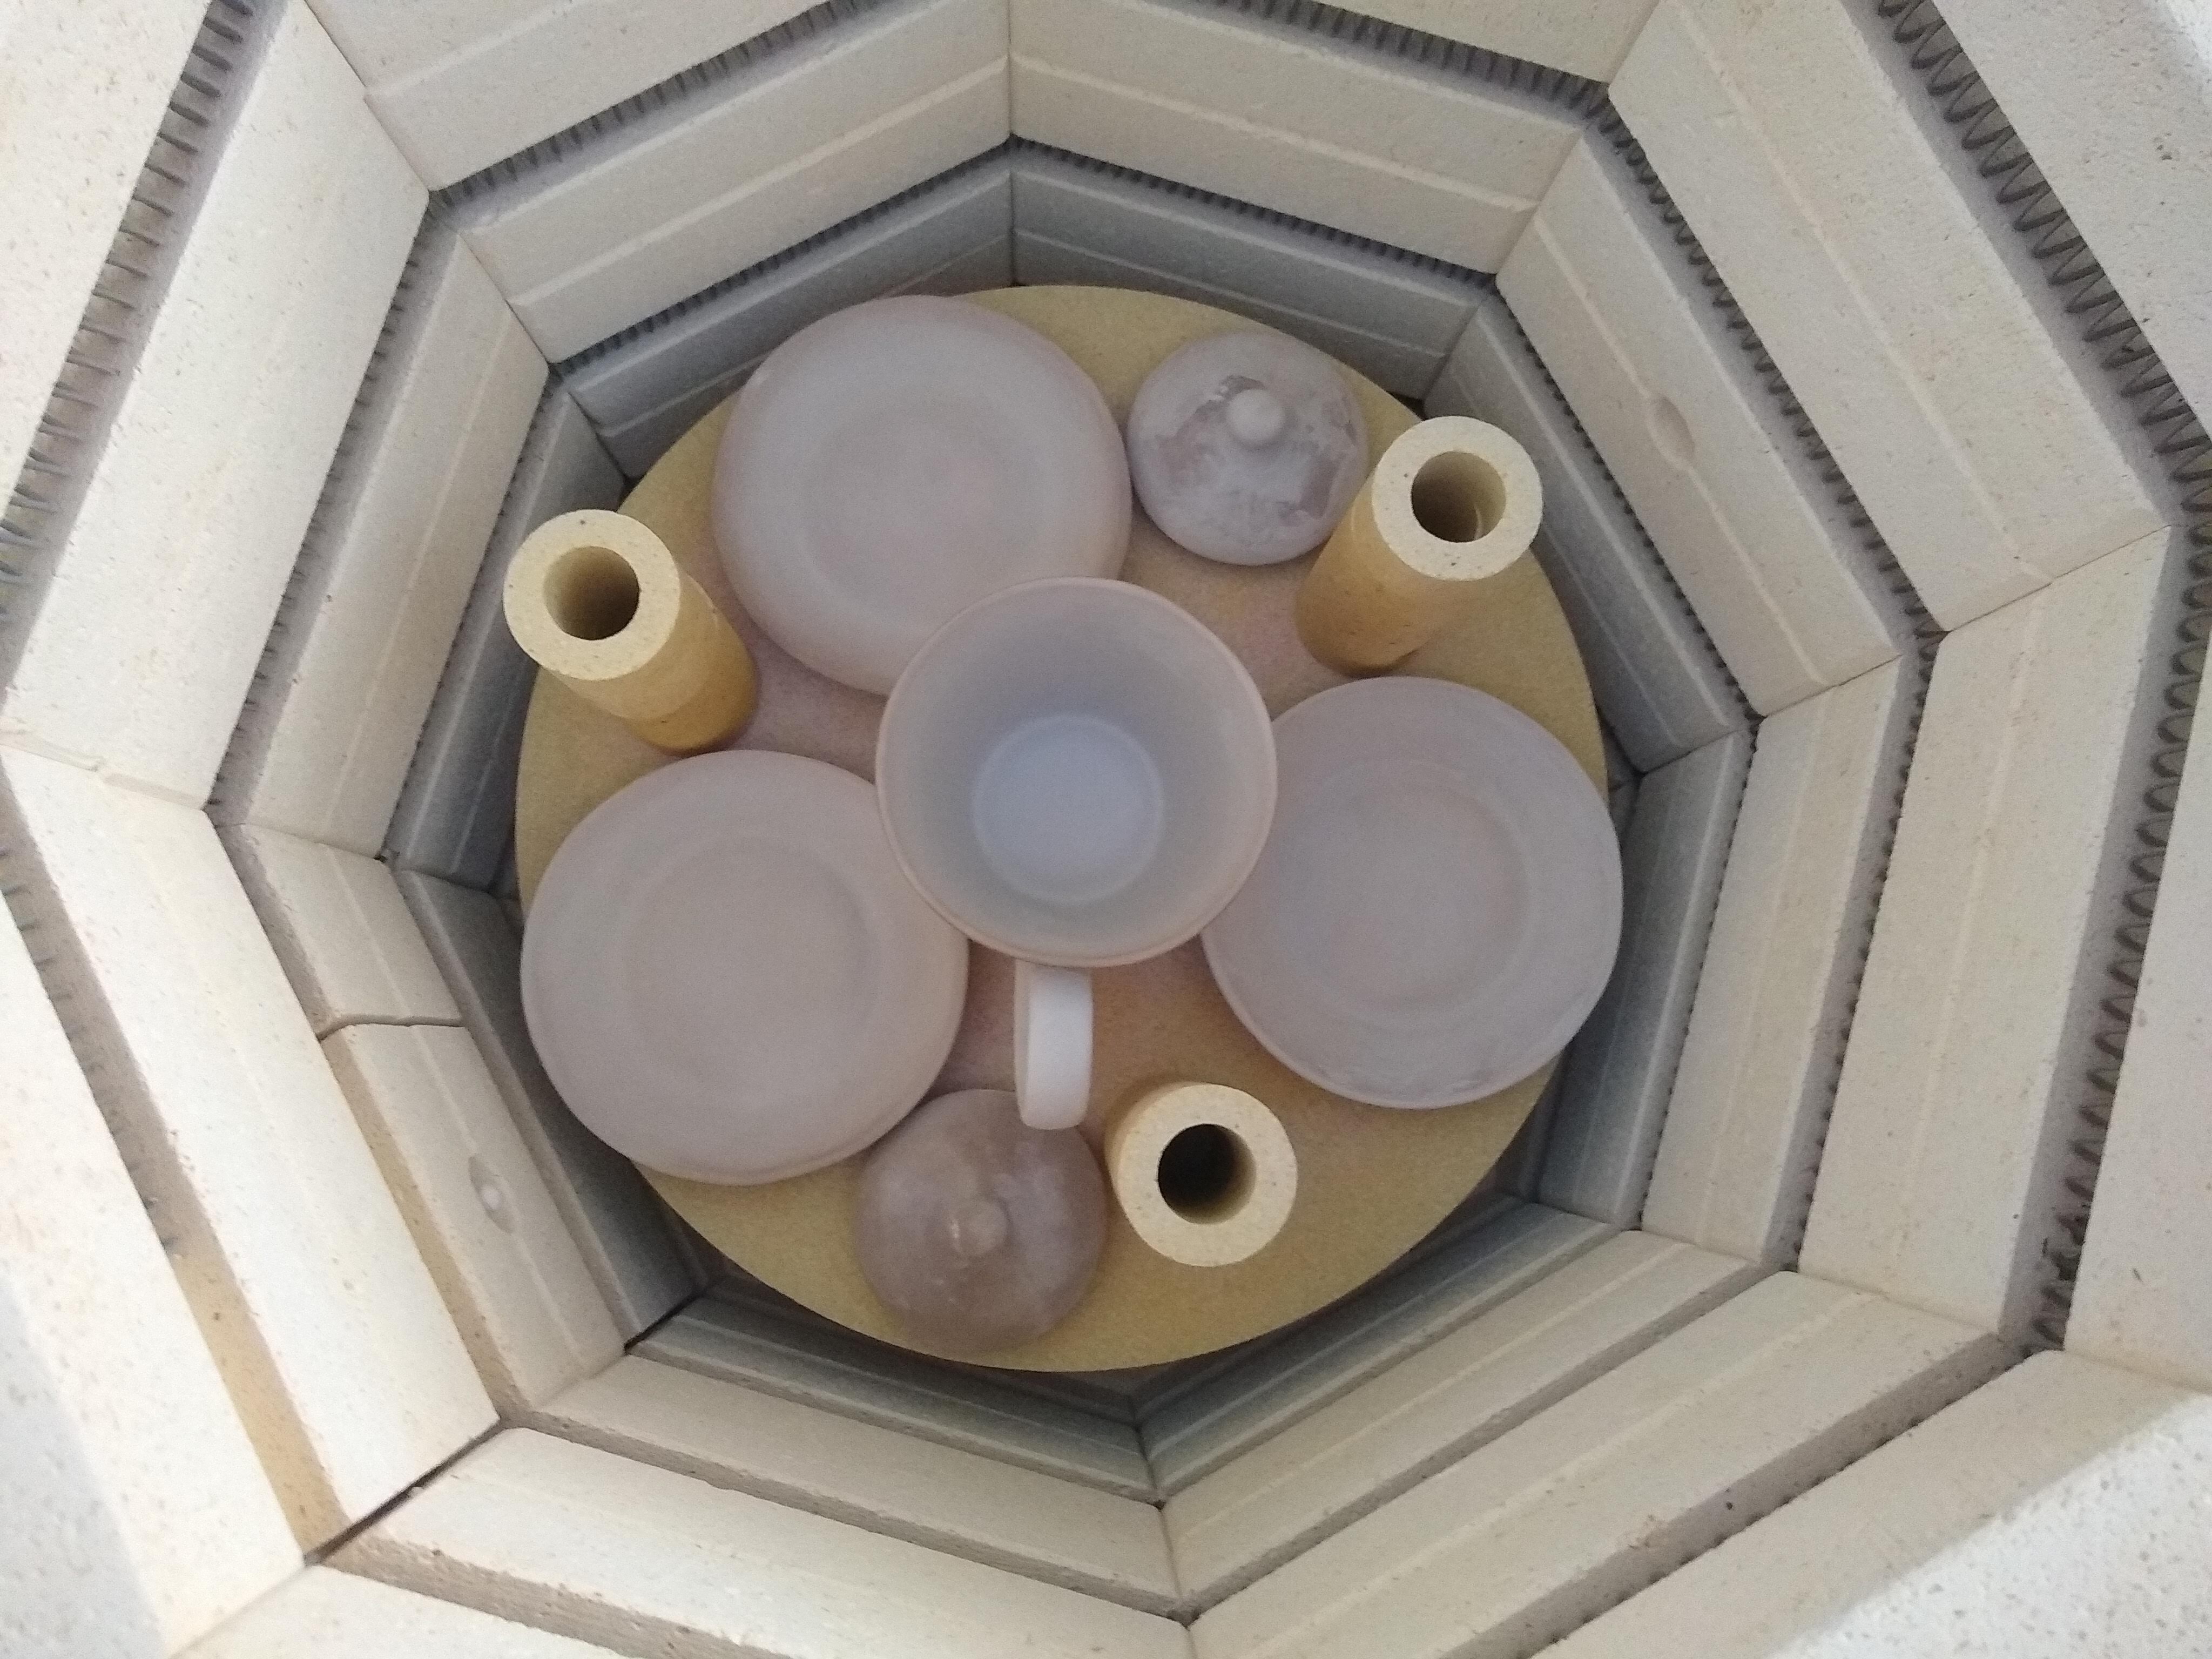
The casting process from slip making to cast green ware ready for firing

Scrap Clay from wheel thrown pottery turnings for slip making.
Slip bucket surrounded with boiling water in a plastic bowl.

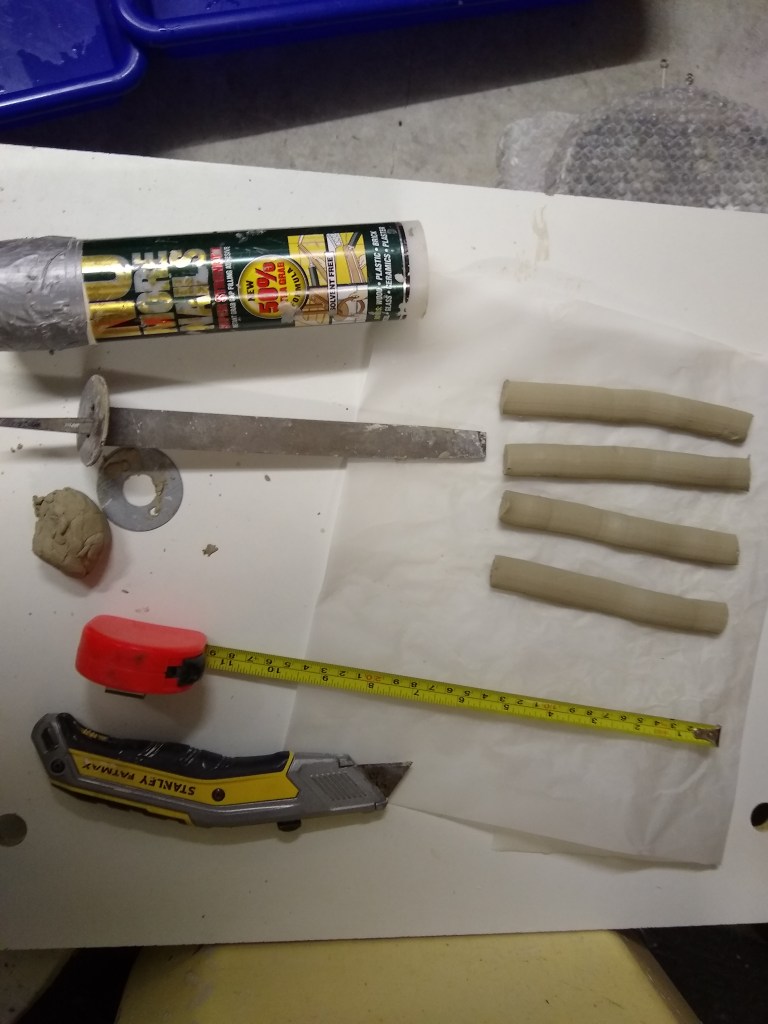
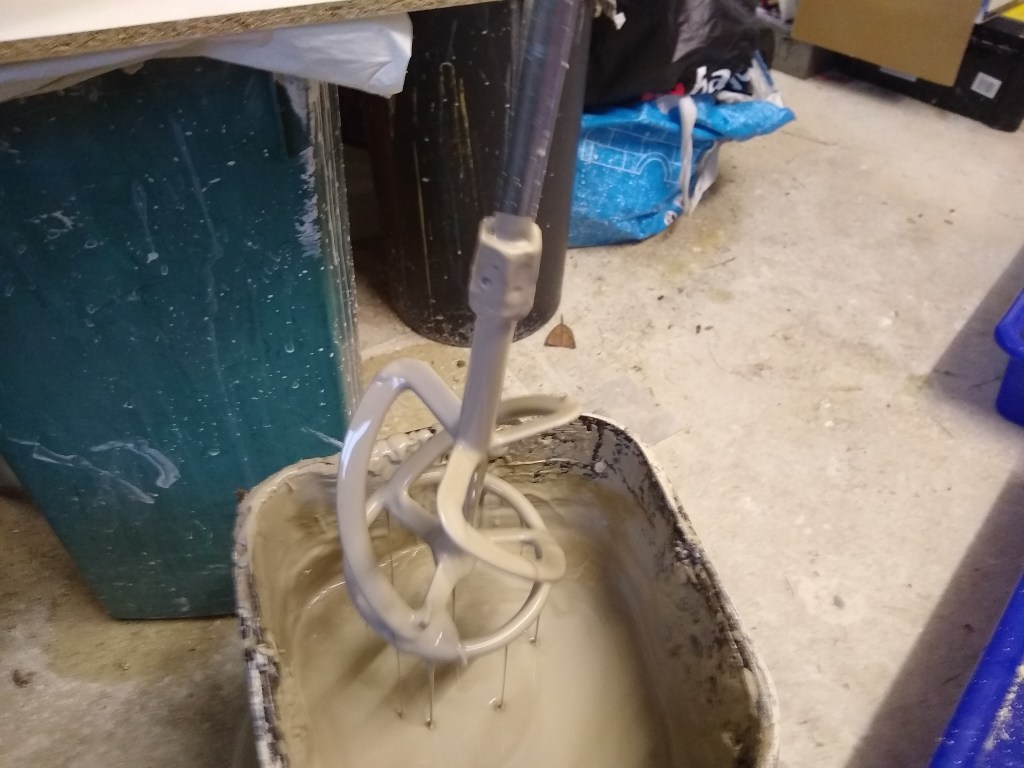
Builders plaster mixing tool used for stirring the clay to make slip.

Clay homogenized and a very small and 50 mls of hot water added to adjust the SG to 1.85
A deflocculant is used to lower the viscosity. I use Sodium Dispex
Place the Sodium Dispex bottle on a balance and tare to 0 grams
Stir in the Sodium Dispex a drop at a time until the viscosity drops for easy pouring.
The slip is now like cream and forms streams of liquid clay when the stirrer is lifted
Reweigh the Sodium Dispex bottle -15 grams (so around 15 grams used to lower the viscosity)
Mug moulds warmed in the plate warmer (set at 40 C, but allowed to cool down to 20 C afterwards).
Vase mould warmed up to 20 C
Vase lid mould warmed up to 20 C

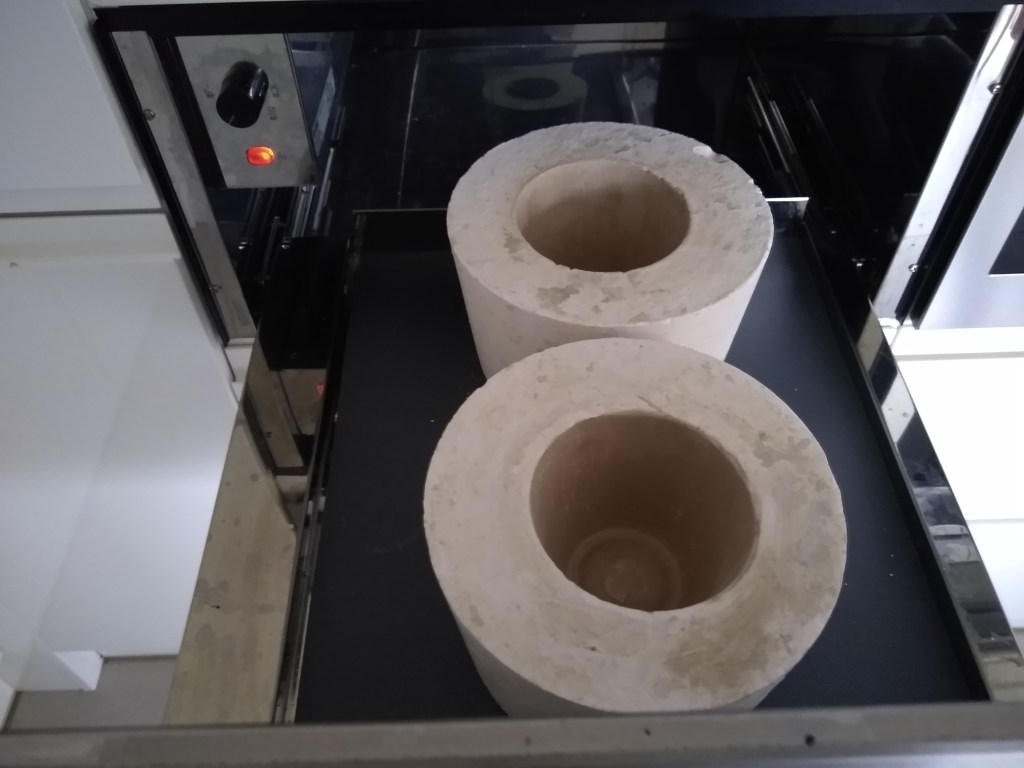
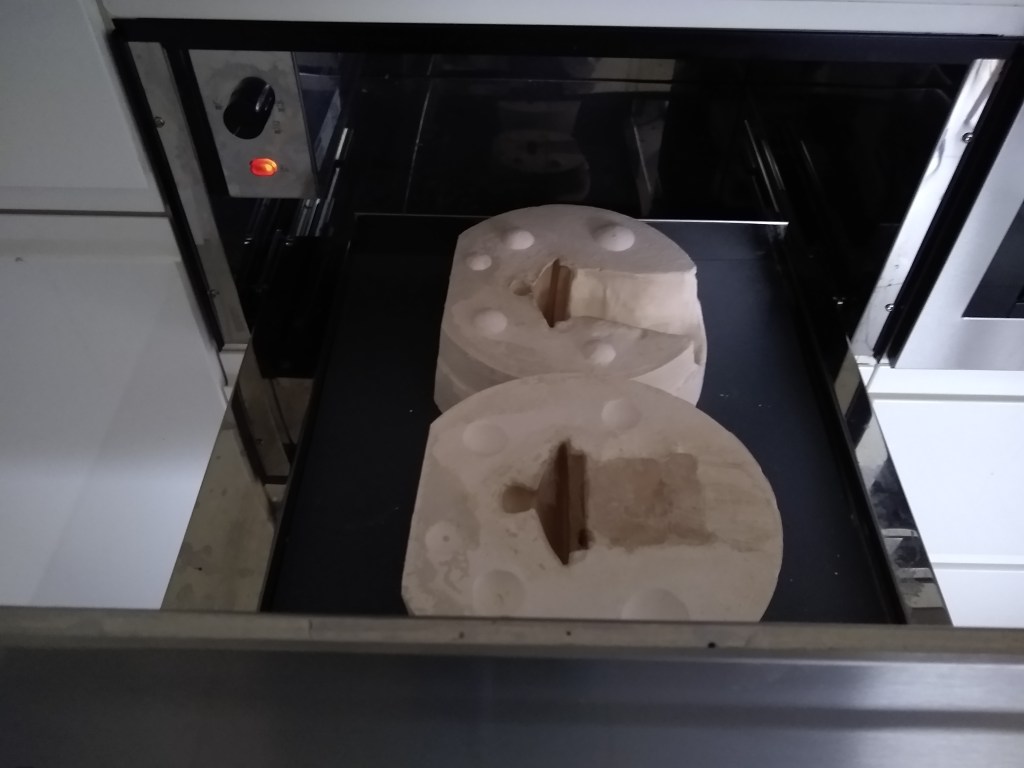
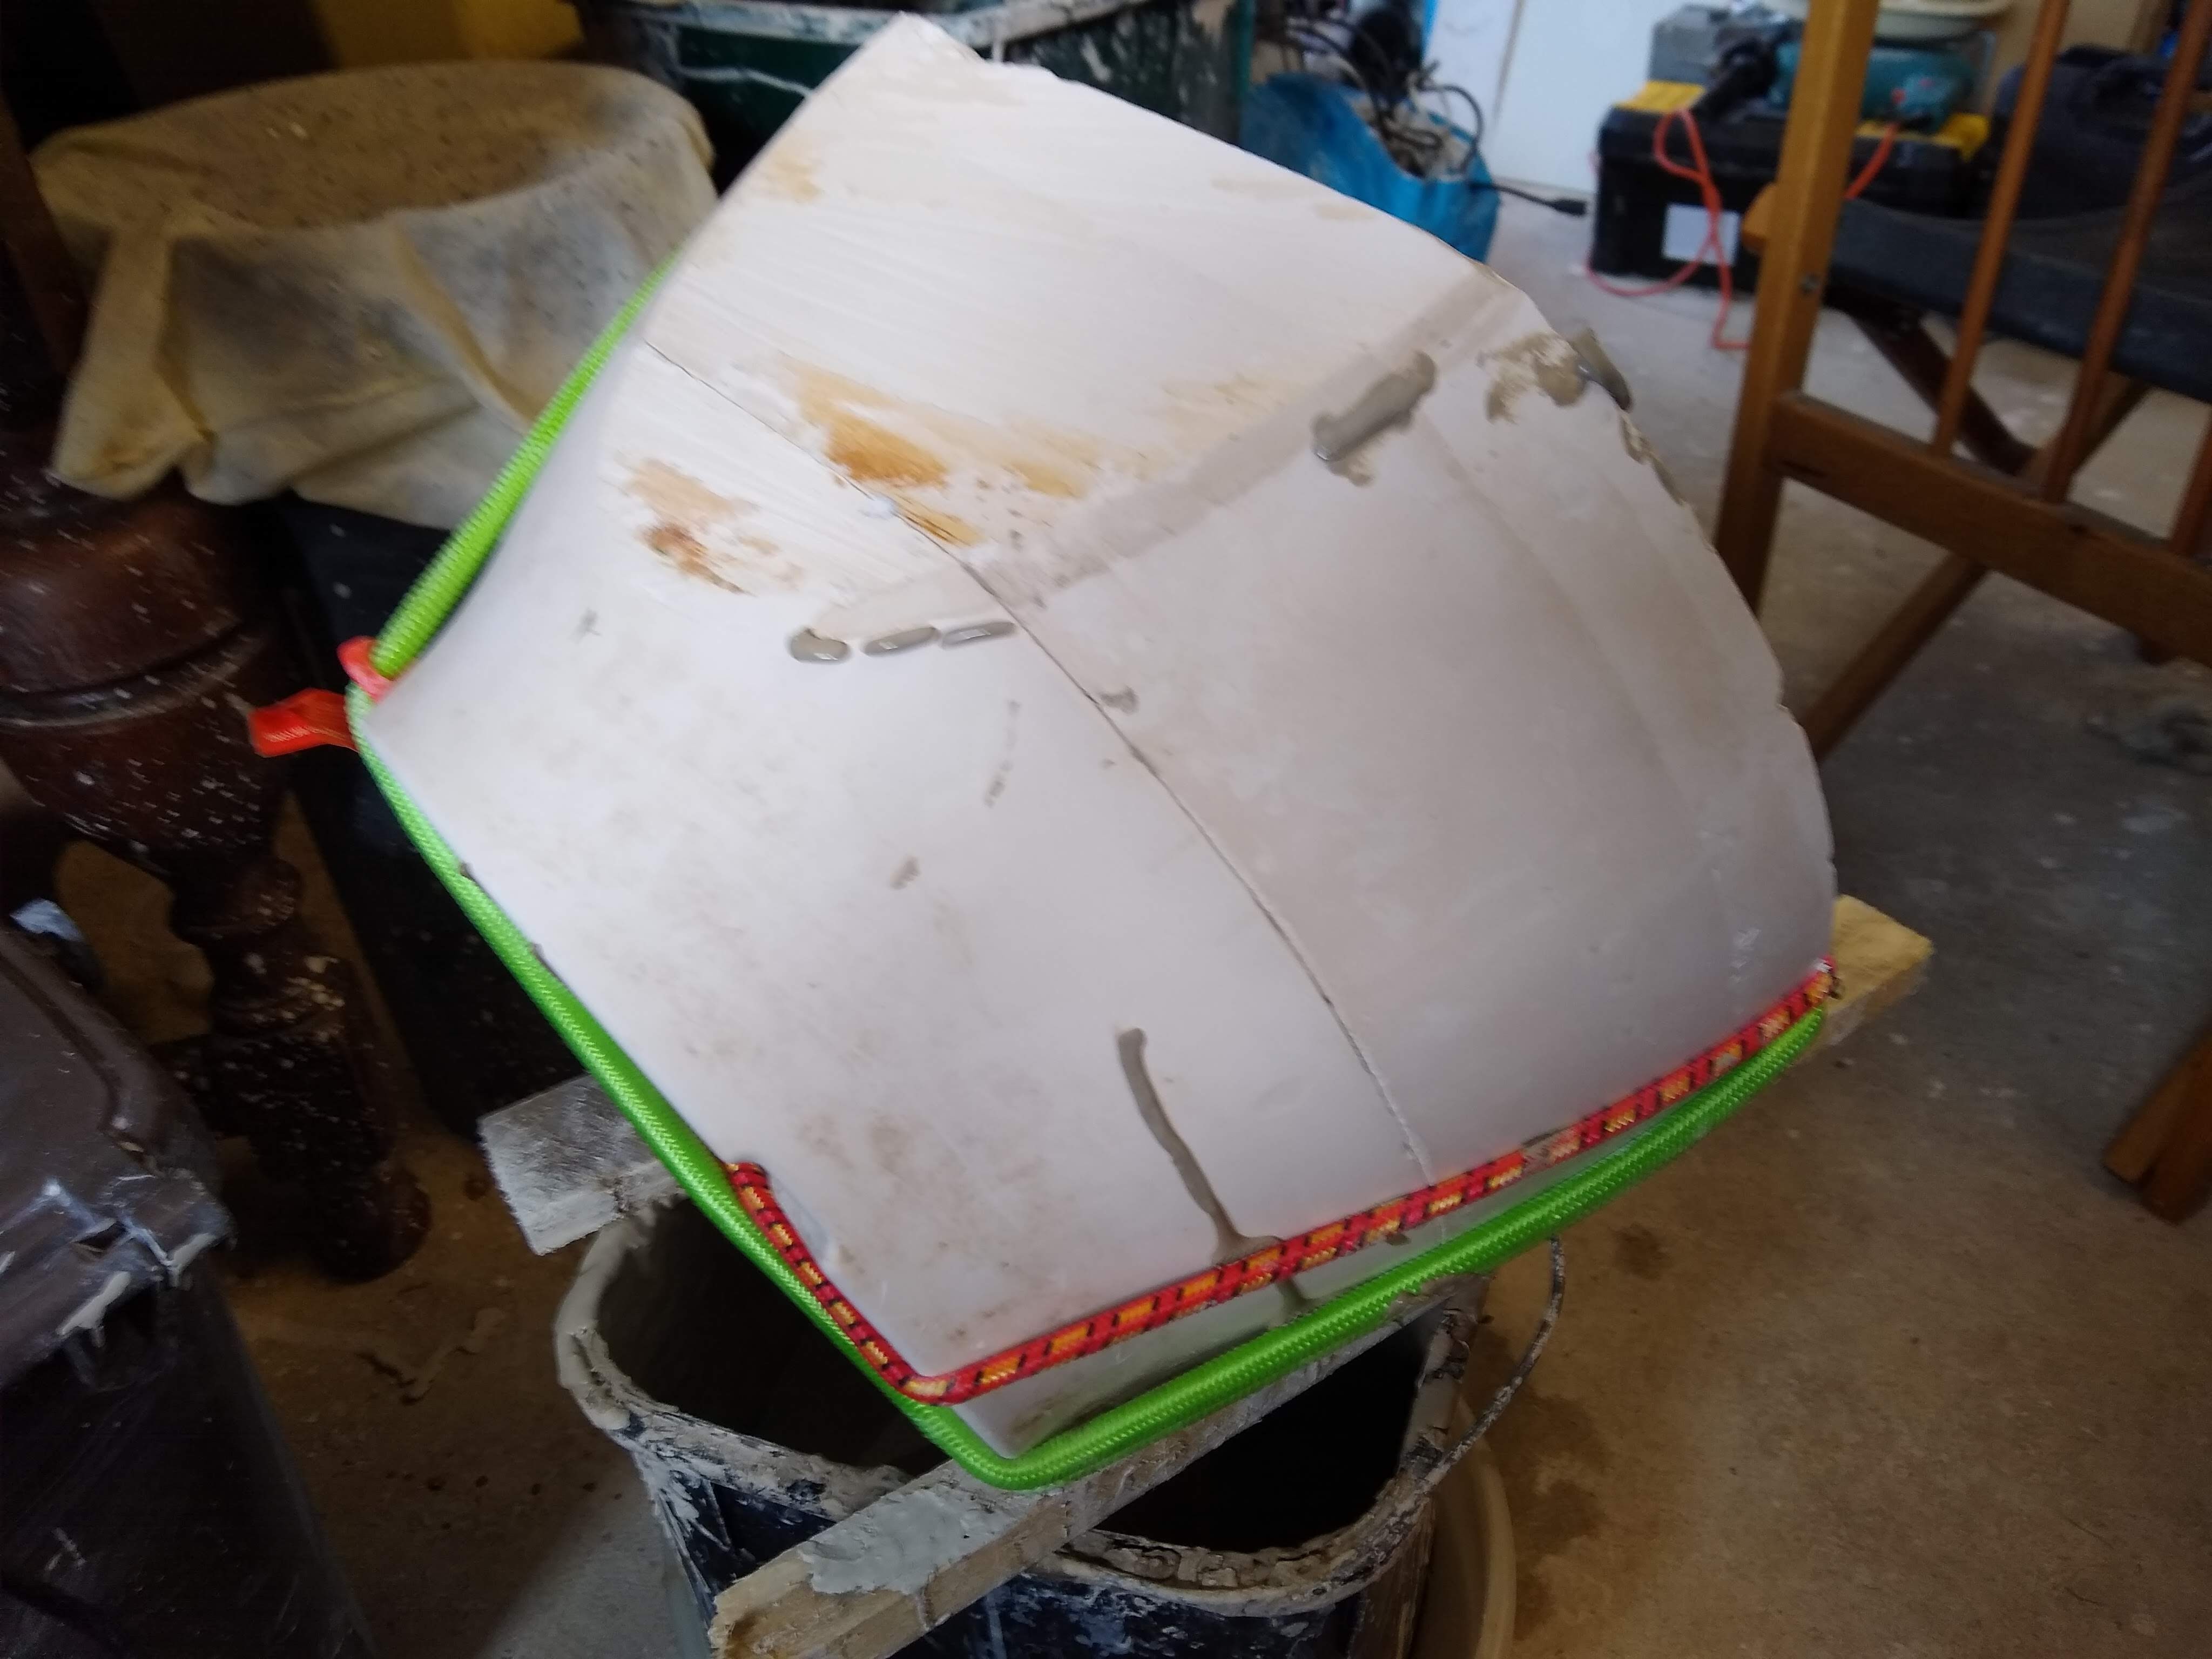
Garage temperature is currently at 8 C, hence the moulds brought in to warm up!

Moulds brought back out to the garage to add the prepared Clay Slip. (Sieved to remove any foreign particles… mostly insects!)
Mugs, Saucer and lid moulds filled with clay (timed to stay in the mould for 35 minutes, before draining the slip).
Slip bucket prepared for draining the moulds using wooden battens.
Moulds draining, first back into the slip bucket, then into the scrap clay tub.
Drained mug left to dry before removal from the mould (at 20 C, indoors)
Equipment used to make the mug handles – Empty Bathroom rubber sealant tube with the nozzle cut off
The circular die for the handle to be extruded is dropped into the empty tube followed by the clay rolled to the diameter of the tube.
On top of the roll of clay I added a second washer
The clay can now be extruded to make handles
Each handle is extruded to 14 centimeters long
4 handles extruded then a hand file used to push the die back out and the tube washed for reuse.
Handles shaped ready to add and allowed to dry along with the mugs (Two Leather hard handles put into a self-sealing plastic bag for use later.
The Pots are cleaned smoothed and handles added and allowed to dry